If you have inherited a Magento store where business logic lives in core file overrides and a theme’s functions file, you already know why modules exist. The moment you need to change how a product name renders, add a page, or react when a customer adds to cart, the right answer in Magento is almost always the same: write a module, and keep your code out of core.
This guide builds one from an empty folder to a working module that registers itself, serves a page, changes core behavior with a plugin, stores data in its own table, and reacts to an event. The code is current for the Magento Open Source and Adobe Commerce 2.4.x line, which runs on PHP 8.1 and newer.
Overview
- A Magento 2 module needs only two files to exist:
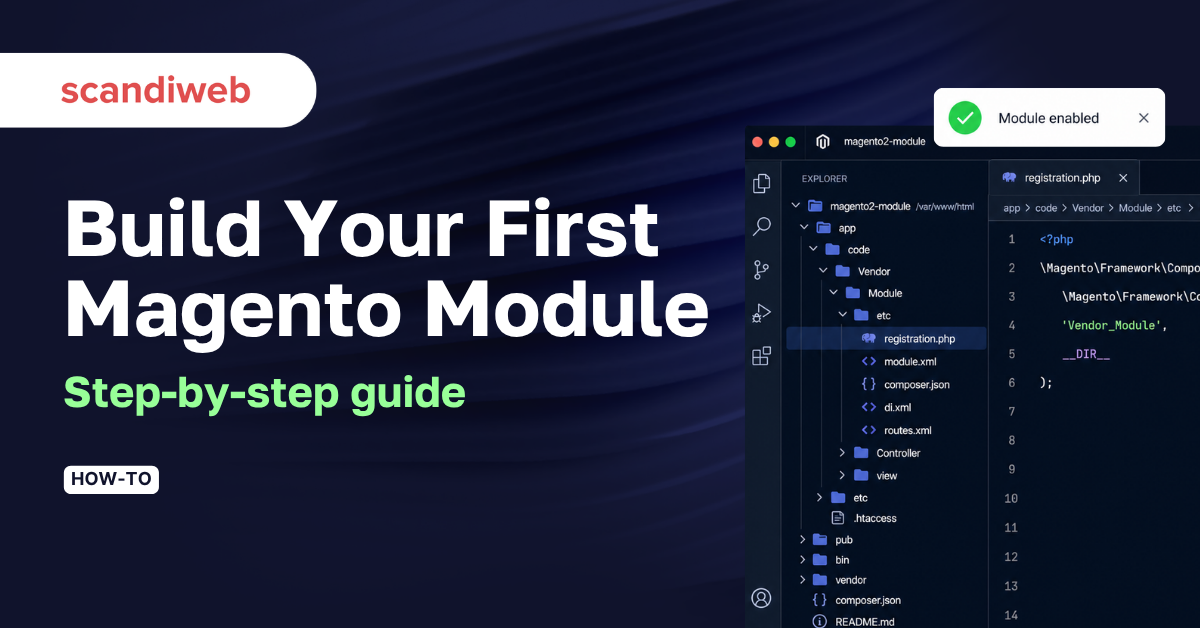
registration.phpandetc/module.xml. Everything else adds capability. - Modules live in
app/code/<Vendor>/<Module>/during development and ship through Composer when you want to reuse them across projects. - The same module structure scales from a one-file tweak to a full feature: controllers serve pages, plugins and observers change behavior, and declarative schema owns your database tables.
? Quick takeaway
Two files make a module real. The other files in this guide are how it earns its place: a route, a controller, a plugin, a table, an observer. Add only the ones your feature needs.
What is a Magento 2 module?
A module is a self-contained unit of code responsible for a specific piece of functionality. It groups everything that feature needs (configuration, classes, templates, database schema) under one directory so the code stays consistent, debuggable, and reusable. In Magento, almost all functionality, core and custom, is delivered as modules, which is why building one is the first real skill a Magento developer needs.
Before you start: naming and location
A module name has two parts: a vendor name and a module name, written Vendor_Module.
- Vendor name. For a project-only module, the vendor can be the project name. For anything you intend to reuse across projects or teams, use your company, for example
Scandiweb. A shared module should carry acomposer.json. - Module name. Describe what it does.
Scandiweb_AwesomeModuleis the convention this guide follows.
During development, place the source under the conventional path:
/app/code/Scandiweb/AwesomeModule/Two other locations exist, and it helps to know why you do not edit them:
/vendor/<Vendor>/holds system modules, third-party modules, and anything installed by Composer. Do not edit code here. Your changes will disappear on the next update, which is exactly the problem modules solve./app/design/<Vendor>/is for theme-level overrides, not module logic.
? Quick takeaway
If a change might ever matter on a second project, set the vendor to your company name and add a composer.json from day one. Retrofitting a project-named module into a shareable package later is more work than doing it once.
The two required files
registration.php
Located at the module root, registration.php tells Magento the module exists.
<?php

use Magento\Framework\Component\ComponentRegistrar;

ComponentRegistrar::register(
    ComponentRegistrar::MODULE,
    'Scandiweb_AwesomeModule',
    __DIR__
);
etc/module.xml
module.xml declares the module name and any modules that must load first. Note there is no setup_version attribute. Modern Magento manages versioning through declarative schema, not a hand-maintained number.
<?xml version="1.0"?>
<config xmlns:xsi="http://www.w3.org/2001/XMLSchema-instance"
        xsi:noNamespaceSchemaLocation="urn:magento:framework:Module/etc/module.xsd">
    <module name="Scandiweb_AwesomeModule">
        <!-- dependencies go here, see "Declaring dependencies" below -->
    </module>
</config>
With those two files in place, enable and register the module:
bin/magento module:enable Scandiweb_AwesomeModule
bin/magento setup:upgrade
If you run a containerized or CMA-style setup, enter the CLI first:
npm run cli                                       # enter the CLI
bin/magento module:enable Scandiweb_AwesomeModule # enable the module
bin/magento setup:upgrade                         # register and run setup
exit                                              # leave the CLI
Confirm it registered:
bin/magento module:status Scandiweb_AwesomeModuleThat is a working, if empty, module. Everything below adds capability to it.
How do you serve a page from a module? Routes and a controller
To answer a URL, a module needs a route and a controller. The route maps a URL path (the frontName) to your module.
etc/frontend/routes.xml:
<?xml version="1.0"?>
<config xmlns:xsi="http://www.w3.org/2001/XMLSchema-instance"
        xsi:noNamespaceSchemaLocation="urn:magento:framework:App/etc/routes.xsd">
    <router id="standard">
        <route id="awesome" frontName="awesome">
            <module name="Scandiweb_AwesomeModule" />
        </route>
    </router>
</config>
The controller handles the request. On 2.4.x, implement the HTTP-method interface (HttpGetActionInterface) rather than extending the deprecated Action class.
Controller/Index/Index.php:
<?php

namespace Scandiweb\AwesomeModule\Controller\Index;

use Magento\Framework\App\Action\HttpGetActionInterface;
use Magento\Framework\View\Result\PageFactory;

class Index implements HttpGetActionInterface
{
    public function __construct(
        private readonly PageFactory $pageFactory
    ) {
    }

    public function execute()
    {
        return $this->pageFactory->create();
    }
}
After bin/magento cache:flush, the URL /awesome/index/index resolves to this controller. The path is frontName/controllerFolder/actionClass.
? Quick takeaway
The URL pattern is frontName/controller/action. A frontName of awesome and a Controller/Index/Index.php give you /awesome/index/index, and /awesome alone falls back to the same Index/Index default.
How do you change core behavior? Plugins and di.xml
A plugin (interceptor) is the supported way to modify the result of an existing public method without touching core. You wire it up in di.xml and write before, after, or around methods.
etc/di.xml:
<?xml version="1.0"?>
<config xmlns:xsi="http://www.w3.org/2001/XMLSchema-instance"
        xsi:noNamespaceSchemaLocation="urn:magento:framework:ObjectManager/etc/config.xsd">
    <type name="Magento\Catalog\Model\Product">
        <plugin name="scandiweb_awesome_product_name"
                type="Scandiweb\AwesomeModule\Plugin\ProductPlugin" />
    </type>
</config>Plugin/ProductPlugin.php:
<?php

namespace Scandiweb\AwesomeModule\Plugin;

use Magento\Catalog\Model\Product;

class ProductPlugin
{
    public function afterGetName(Product $subject, string $result): string
    {
        return $result . ' (curated)';
    }
}
An after plugin receives the original return value and returns a (possibly changed) one. Reach for before to alter arguments and around only when you must control whether the original method runs at all, since around plugins carry the most overhead.
? Quick takeaway
Prefer after and before plugins. Reach for around only when you must stop the original method running, because an around plugin wraps the whole call stack and is the easiest way to introduce a performance problem.
How do you store data? Declarative schema
When a feature needs its own table, declare it in etc/db_schema.xml. Magento reconciles the database to match the file on setup:upgrade, so you describe the desired end state rather than writing migration scripts by hand.
<?xml version="1.0"?>
<schema xmlns:xsi="http://www.w3.org/2001/XMLSchema-instance"
        xsi:noNamespaceSchemaLocation="urn:magento:framework:Setup/Declaration/Schema/etc/schema.xsd">
    <table name="scandiweb_awesome_log" resource="default" engine="innodb" comment="Awesome Module Log">
        <column xsi:type="int" name="entity_id" padding="10" unsigned="true" nullable="false" identity="true" comment="Entity ID"/>
        <column xsi:type="varchar" name="message" nullable="false" length="255" comment="Message"/>
        <column xsi:type="timestamp" name="created_at" on_update="false" nullable="false" default="CURRENT_TIMESTAMP" comment="Created At"/>
        <constraint xsi:type="primary" referenceId="PRIMARY">
            <column name="entity_id"/>
        </constraint>
    </table>
</schema>
Run bin/magento setup:upgrade and the table appears. Generate a db_schema_whitelist.json with bin/magento setup:db-declaration:generate-whitelist --module-name=Scandiweb_AwesomeModule so Magento knows the table is yours to manage.
? Quick takeaway
Declarative schema is desired-state, not step-by-step. You describe the table you want in db_schema.xml, and Magento works out the ALTERs. Old InstallSchema and UpgradeSchema scripts are deprecated, do not add new ones.
How do you react to events? Observers
Magento dispatches events at key moments. An observer runs your code when one fires, which is the clean way to react to something happening elsewhere in the system without changing that code.
etc/events.xml (or etc/frontend/events.xml to scope it to the storefront):
<?xml version="1.0"?>
<config xmlns:xsi="http://www.w3.org/2001/XMLSchema-instance"
        xsi:noNamespaceSchemaLocation="urn:magento:framework:Event/etc/events.xsd">
    <event name="checkout_cart_add_product_complete">
        <observer name="scandiweb_awesome_cart_add"
                  instance="Scandiweb\AwesomeModule\Observer\CartAdd" />
    </event>
</config>Observer/CartAdd.php:
<?php

namespace Scandiweb\AwesomeModule\Observer;

use Magento\Framework\Event\Observer;
use Magento\Framework\Event\ObserverInterface;

class CartAdd implements ObserverInterface
{
    public function execute(Observer $observer): void
    {
        // React to a product being added to the cart
    }
}
Use an observer when you want to react to something. Use a plugin when you want to change the result of a specific method. Choosing the wrong one is the most common structural mistake in a first module.
Declaring dependencies
If your module relies on another module loading first, list it under <sequence> in module.xml. This controls load order, not installation.
<?xml version="1.0"?>
<config xmlns:xsi="http://www.w3.org/2001/XMLSchema-instance"
        xsi:noNamespaceSchemaLocation="urn:magento:framework:Module/etc/module.xsd">
    <module name="Scandiweb_AwesomeModule">
        <sequence>
            <module name="Magento_Catalog" />
        </sequence>
    </module>
</config>
Packaging the module with composer.json
To reuse the module across projects, add a composer.json at its root and publish it to a repository.
{
    "name": "scandiweb/module-awesome",
    "description": "Awesome module for Magento Open Source / Adobe Commerce",
    "type": "magento2-module",
    "license": "OSL-3.0",
    "require": {
        "php": "~8.1.0||~8.2.0||~8.3.0",
        "magento/framework": "*"
    },
    "autoload": {
        "files": ["registration.php"],
        "psr-4": {
            "Scandiweb\\AwesomeModule\\": ""
        }
    }
}
With type set to magento2-module, Composer places the package correctly and Magento discovers it through the registration.php referenced in autoload.files. From here, building a Magento plugin or a custom widget is the same module, with more files.
A note on testing
Every file above changes how the store behaves, which means every one is something that can break on the next upgrade. Modules that ship without tests are where regressions hide. A small set of unit tests around your plugins and observers, plus integration coverage on anything touching the database, is the difference between a module you trust and one you re-check by hand every release. It is the same standard we hold across Magento website development and QA automation work.
Frequently asked questions
What is the minimum needed to create a Magento 2 module?
Two files: registration.php at the module root and etc/module.xml. After adding them under app/code/Vendor/Module/, run bin/magento module:enable Vendor_Module and bin/magento setup:upgrade. That is a valid, registered module, ready for you to add controllers, plugins, or schema.
Where do Magento 2 modules live?
Custom modules under development go in app/code/<Vendor>/<Module>/. Modules installed through Composer, including third-party and core modules, live in vendor/. You should not edit anything in vendor/, because updates overwrite it.
What is the difference between a plugin and an observer in Magento 2?
A plugin (interceptor) changes the input or return value of a specific public method. An observer runs custom code when Magento dispatches a named event. Use a plugin to modify a method’s result, and an observer to react to something happening elsewhere in the system.
How do I create a database table in a Magento 2 module?
Define the table in etc/db_schema.xml using declarative schema, then run bin/magento setup:upgrade. Generate a whitelist with bin/magento setup:db-declaration:generate-whitelist. Avoid the deprecated InstallSchema and UpgradeSchema scripts for new code.
Which Magento version does this guide target?
The code targets the Magento Open Source and Adobe Commerce 2.4.x line, which runs on PHP 8.1 and newer and uses declarative schema and HTTP-method controller interfaces. The same structure has been stable across 2.4 releases.
How do I enable and check a module from the command line?
Run bin/magento module:enable Vendor_Module to enable it, bin/magento setup:upgrade to register it, and bin/magento module:status Vendor_Module to confirm its state. On production, follow with bin/magento setup:di:compile.
Building one module is a tutorial. Deciding how dozens of them fit together without turning your store into a maintenance backlog is a platform decision, and the one that usually decides whether a Magento build stays healthy. If you are at that point, our Magento development team can help you draw the line. Get in touch.

Share on: